Editing shapes
Every shape in Adobe XD is a vector path defined by a start and an end point, and can be easily edited at any time.
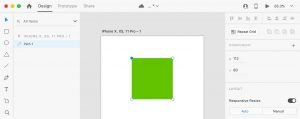
When you double click on a shape, you will enter the “path edit mode” and all the shape’s anchor points will become visible.
While in “path edit mode”, you can manipulate your shape by editing and removing existing anchor points, or by adding new ones to the existing path.
You can select an anchor point just by clicking on it (the selected anchor point will change its color from white to blue).
You can select multiple anchor points by holding SHIFT and clicking on all the anchor points you want to select simultaneously, or by marquee-selecting them.
Once an anchor point is selected you can:
• Double click on it to convert it from straight to curved, or vice-versa
• Hit the DELETE key to remove it
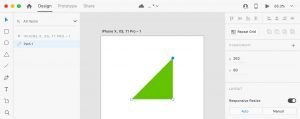
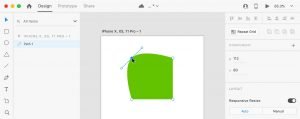
• Click & drag it until you obtain the desired effect on your modified shape
You can also add a new anchor point to your shape by hovering with the mouse on the path border, and when the cursor icon turns into a pen (Pen tool is active), click on the exact location of the path where you want the anchor point to be added.
The pen tool
As we have seen above, the Pen tool is key when it comes to editing shapes, creating custom ones or paths in general.
You can activate this tool by selecting it from the left toolbar, or by hitting the P key.
Once activated, you can start drawing your shape or path by clicking anywhere on your artboard to create the first anchor point.
As you create more anchor points, you will notice that they are being connected by a straight line, which is forming your vector path.
By holding down the SHIFT key, you’ll make sure that the path segments drawn will be perfectly vertical, horizontal, or 45 degrees diagonal.
You can close the path and form a custom shape by clicking on the first anchor point you created. You will be able to change all the properties of this new shape as you would do for any other basic shape (color, border, shadow, ..)
You can also leave the path open by hitting the ESC key, in case you just need to create a specific stroke or a curve for example.
Draw curves
To draw a curve, select the Pen tool and position the cursor where you want the curve to begin and hold down the mouse button.
Drag out the cursor to set the slope of the curve and then release the mouse button.
You will notice that a curved line is now visible, and if you click again, it will get drawn on the artboard.
You can edit the slope of the curve by using one of the handles connected to each anchor point of your curved path.