Layers
Layers are a fundamental component of Adobe XD. Every object you create with Adobe XD is a layer.
Layers are stacked on top of each other, and their visibility in your artboards is defined by their position in the layers panel on the left side of the screen (If this panel is not visible, you can show it by clicking on the layer panel icon in the left toolbar, or by using the shortcut: CMD + Y (Mac) & CTRL + Y (Win).
Let me give you a quick example of how layers work:
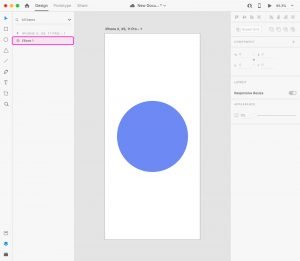
Let’s create a new artboard and draw a simple circle by using the Ellipse tool (E). We will see in detail all the shape drawing tools in the following chapters, for now just follow along this small tutorial.
As you can see, as soon as the circle is created, a new layer is now visible in the layers panel.
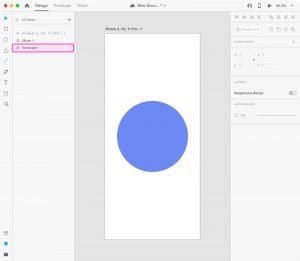
Now let’s go back to the artboard and draw a rectangle, by using the Rectangle tool (R).

The rectangle layer is positioned on top of the ellipse layer in the layers panel, hence we can clearly see the rectangle on top of the circle in our artboard.
If we try to move the rectangle layer underneath the ellipse layer in the layers panel, the rectangle won’t be visible anymore in our artboard, as the circle is covering it.
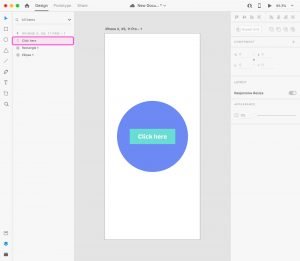
Now let’s move the rectangle layer back on top of the ellipse layer, and create a new text object with the Text tool (T). The text layer is now on top of all the others in the layers panel, so it’s visible on top of everything also in our artboard.
Now let’s create a big rectangle the size of the entire artboard. When this layer is created, it’s on top of all other layers in the layers panel. As a consequence, we cannot see any other objects in the artboard, as the new rectangle is covering them all.
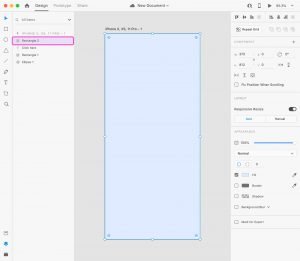
But if we move this layer all the way to the bottom of the layers panel, we can now see all the layers previously created, and this light blue rectangle now acts as the background of our simple design.

Main takeaway: the order of layers in the layers panel sets the visibility of objects in your artboards.
Innovative layers panel layout
The Adobe XD product team came up with an interesting and innovative way of displaying layers in the layers panel. In other design tools like Photoshop and Sketch, all layers from all artboards included in the entire document are displayed at the same time.
In Adobe XD, only the layers belonging to the currently selected artboard are displayed in the layers panel.
This makes it way easier to navigate through only the set of layers you really need in your current context. This is especially useful when you are dealing with big projects with many screens.
If no artboards are selected, the layers panel displays a list of all the artboards in your .xd document.
Depending on which type of layer you have created, there is a corresponding icon next to it so that you can easily recognize what kind of object you are dealing with: (rectangle for rectangles, a circle for ellipses, a T for text layers, a little folder for a layer group, .. ).
Hiding and locking layers
When you hover on a layer in the layer panel, two little icons will appear:
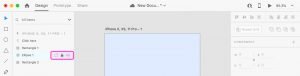
With the “lock” icon, you can lock the layer (you won’t be able to move or edit this layer unless you unlock it)
You can also lock an object by selecting it directly in your artboard, right-clicking on it and select “Lock.” Or simply use the shortcut: CMD + L (Mac) & CTRL + L (Win).
With the “eye” icon, you can hide the layer (it will still be present in the layers panel, but completely invisible in the artboard).
You can also hide an object by selecting it directly in your artboard, right-clicking on it and select “Hide.” Or simply use the shortcut: CMD + ; (Mac) & CTRL + ; (Win).
Grouping layers
You can group two or more layers by selecting them and choosing Object > Group or using the shortcut CMD + G (Mac) & CTRL + G (Win). Or you can right-click on the selected layers and select “Group”.
Forming layer groups is a great way of organizing your objects, for example when you have objects belonging to a specific design element like a button or an entire section of a page, like a header or a footer.
By creating a group, you can keep your layers panel nice and tidy, and you can easily select, move or transform the entire group as if it was a single layer.
If you want to ungroup a layer group: select the layer group and choose Object > Ungroup or use the shortcut CMD + Shift +G (Mac) & CTRL + Shift + G (Win).
Or you can right-click on the layer group and select “Ungroup”.
You can also nest layer groups within other layer groups.
I highly recommend you get familiar with these grouping features as it’s really important to keep a well organized layer panel at all times, especially if you work in a team.