Styling Objects: fills, borders, shadows, blurs
When an object is selected, you will be able to change all its styling options from the property inspector, under the “Appearance” section:
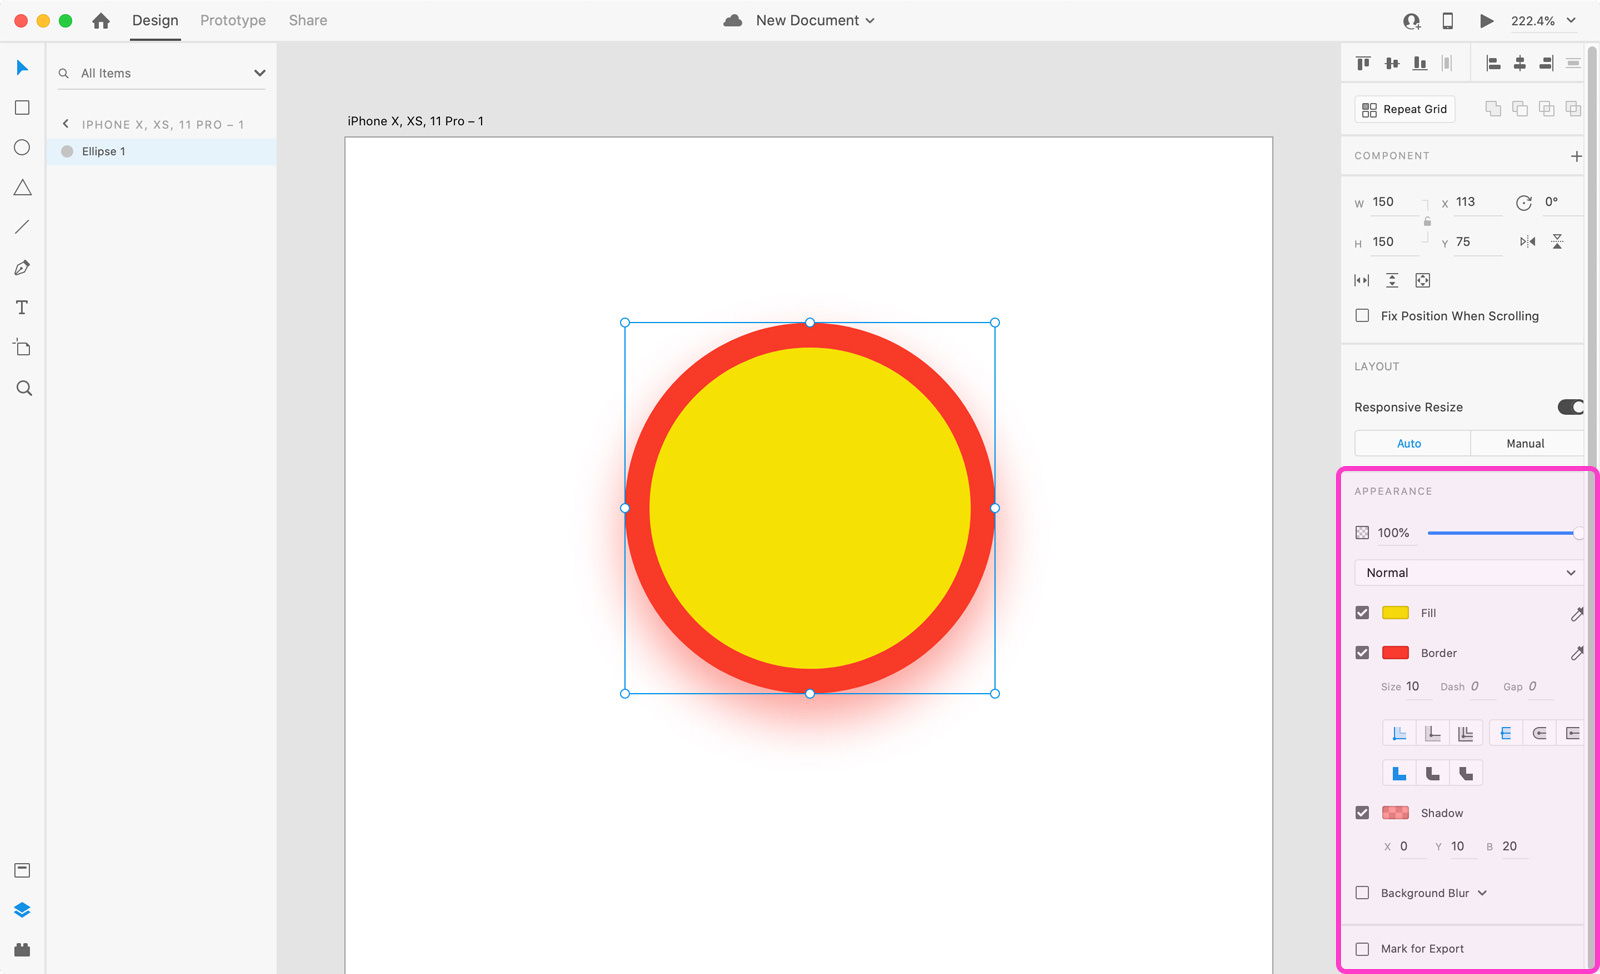
Opacity slider
It controls the transparency of a selected object.
100% is the default value, which means fully visible.
At 0%, the object is completely invisible.
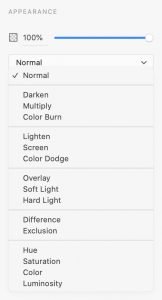
Blend Modes
Blend modes control how an object will blend with the content underneath it.
Change the settings for the selected object using the drop-down menu from the Property inspector.
You have fifteen different blend modes to choose from.
Fill
It controls the color of a selected object.
By clicking on the little color rectangle, the color picker will popup (more on this in the next chapter).
Next to it, there’s an eyedropper icon. When clicked on, you will be able to pick a color from the entire Adobe XD’s canvas and interface. This color will become the new fill color of your selected object.
 Border
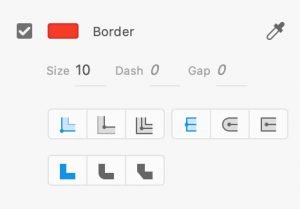
It controls the border properties of a selected object.
You can change the border color, set the alignment and its thickness. You can also pick an existing color with the eyedropper icon or you can select one of the cap (butt, round, projecting) and join (miter, round, bevel) border settings.
Shadow
It controls the shadow properties of a selected object.

• By setting the x and y values, you will define where the shadow will be cast (left, right, top or bottom).
• The B value controls the blur of the shadow.
• You can also change the shadow’s color and opacity by using the color picker.
Blurs
With this option you can add a cool blur effect to a selected object, which is a technique often used in UI design, mostly applied to background images or as an overlay to entire sections of an app.
When you blur objects in Adobe XD, the changes you apply are non-destructive, meaning that you can always recover the original version of your object just by disabling the blur effect (this is not the case in other tools like Photoshop). 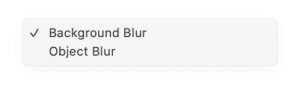
There are 2 ways you can use this feature. You can select which one from the little dropdown menu next to the blur checkbox:
Background blur:
This method is suitable if you want to blur a specific portion of an image or artboard.
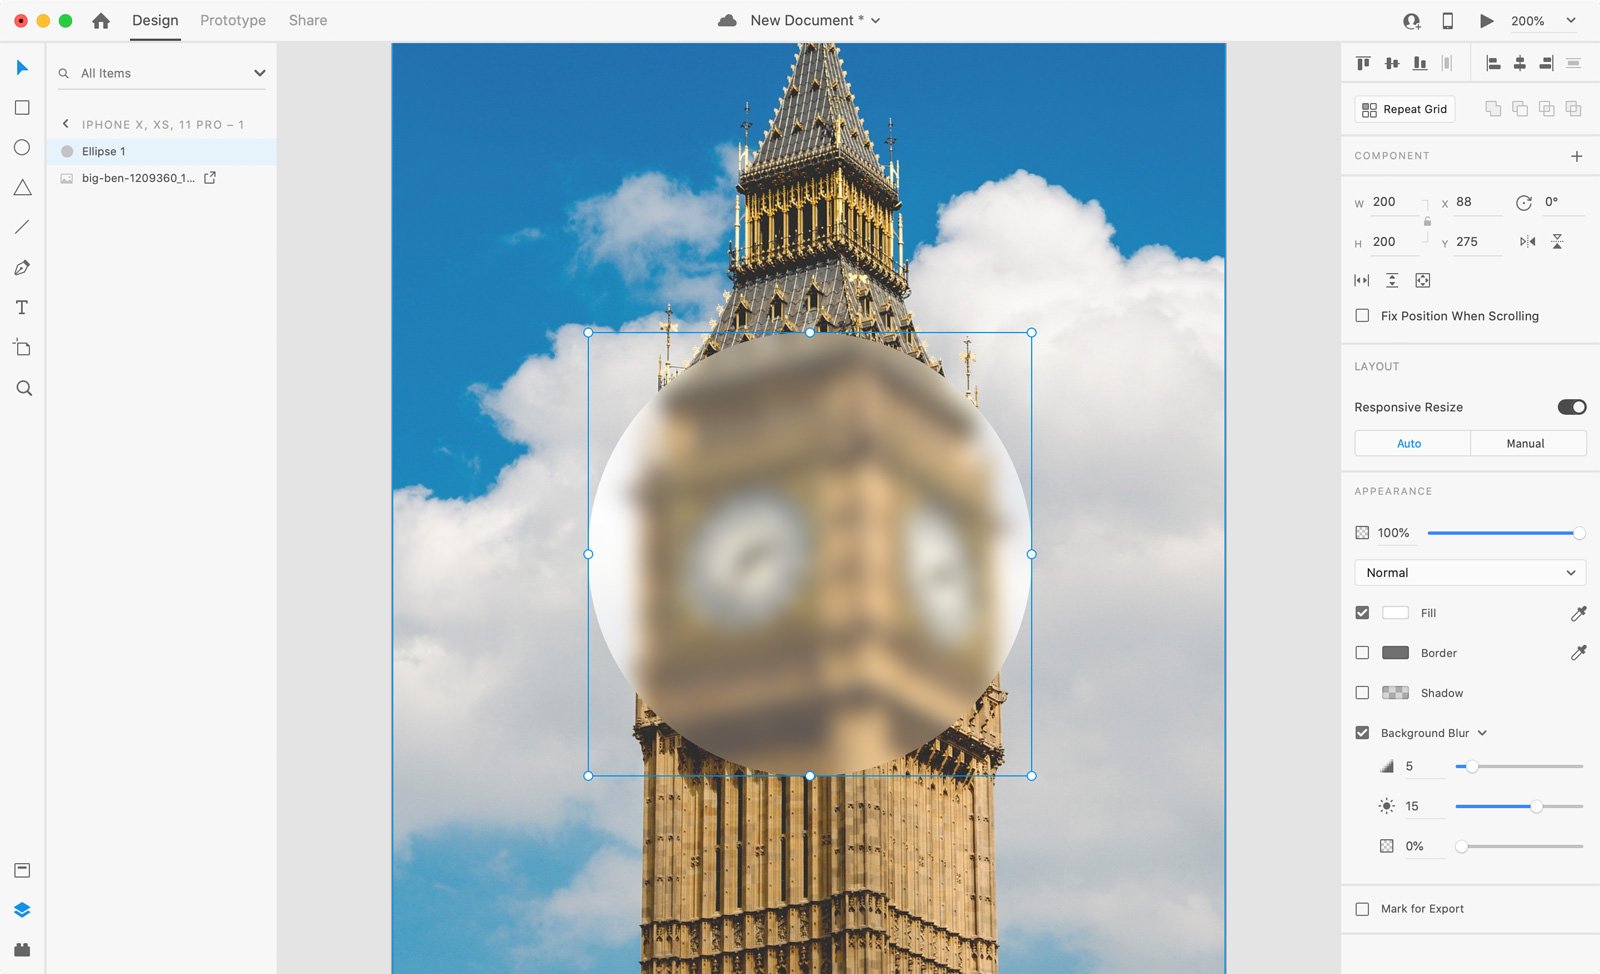
Here’s how to achieve this:
• draw a shape on top of the image or the area of your artboard you would like to blur
• select the shape and choose “Background Blur” from the dropdown menu
• adjust the 3 sliders below in order to obtain the desired blur effect:
Blur amount: sets the power of the blur
Brightness: sets the brightness of the blur
Opacity: sets the opacity of the blur
Object blur:
Use this method if you want to blur an entire object.
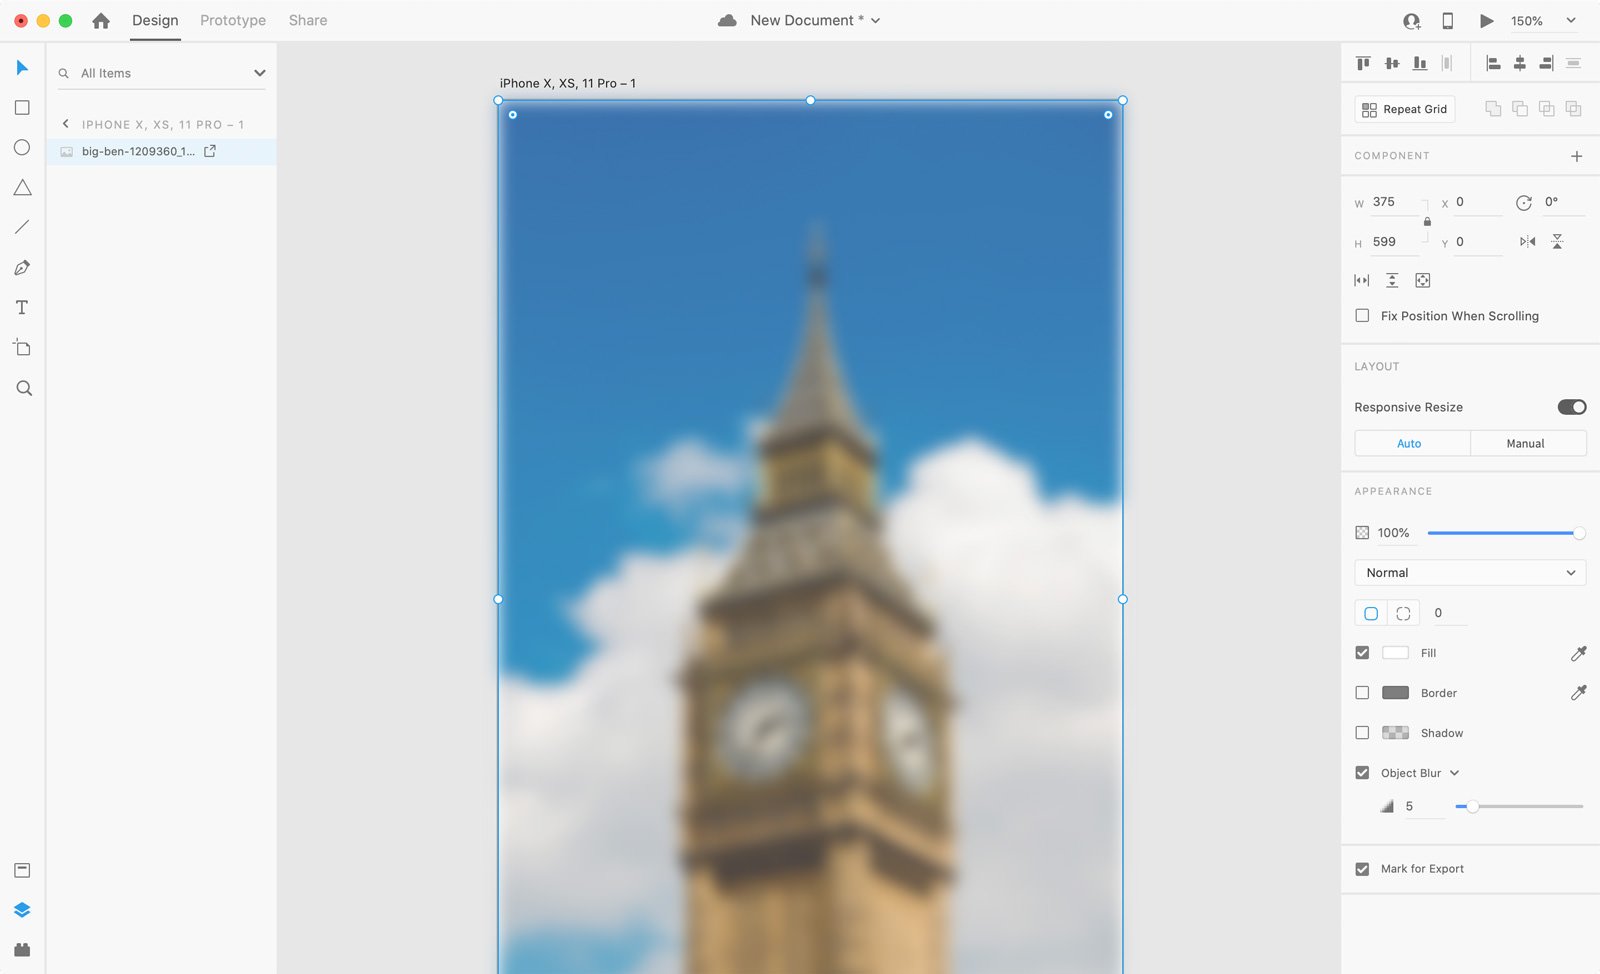
• select the object or image you want to apply a blur effect to
• select “Object blur” from the dropdown menu
• adjust the blur slider in order to obtain the desired effect